|
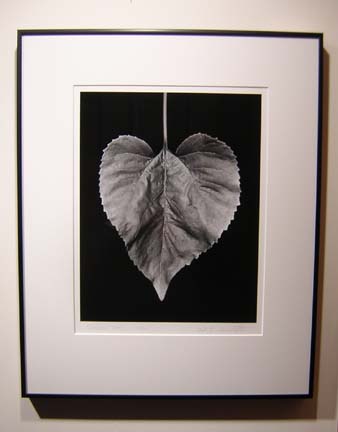
I prefer to sell my work unframed.
That way, the buyer can select a style of frame that works best for their particular situation.
However, when I show my work in a gallery or juried exhibition, it (obviously) must be framed.
As with all other aspects of my photographs, I personally do the matting and framing myself.
By doing it myself I am assured of the highest
quality work.
Also, it assures consistency across all of my framed pieces.
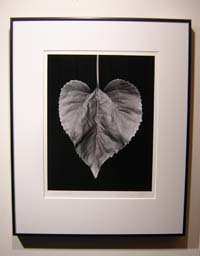
I use all-rag archival mat board (Rising Museum Mounting Board, Antique)
and Nielson #12 frames in matte black.
The thin design of these frames
results in a simple, clean presentation.
The "Antique" shade of mat board is just slightly off-white.
This makes the white tones of my prints the brightest element of the framed piece,
and tends to draw the viewer's eye to the photograph.
However, I am open to other requests by special order.
I can also supply prints un-mounted (for example, for museum collections).
Here's how I do my matting and framing.
Click on any image to see a larger view.
- Flattening the Print
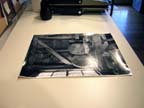 Aa a print dries, the gelatin of the emulsion contracts more than the fiber base of the paper,
and the print tends to curl up like a pretzel.
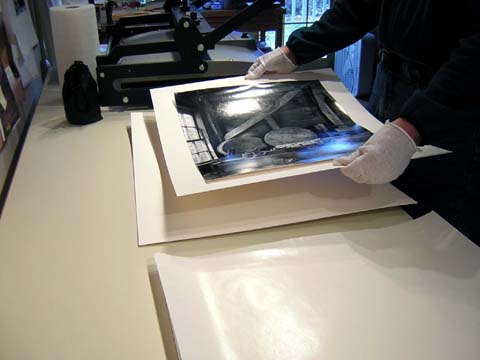
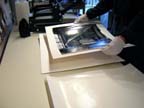
Before any work can be done to finish the print, it must first be flattened.
The print is first placed under a sheet of plate glass overnight to remove some of the curl.
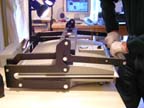
Then the print is placed between two pieces of mat board and pressed in a warm (200 degree)
dry mount press for several minutes.
This tends to soften the emulsion and allows it to conform with the paper substrate.
It also drives out any residual moisture from the paper,
and insures that the print will not shrink during the mounting process.
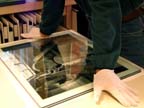
Upon removing the print from the dry mount press, it is
then cooled between two pieces of plate glass.
Then I'm ready to go to work on the details of finishing the print.
Unfortunately, this flattening process does not always work, and it is possible to ruin a print by pressing a crease
into one edge.
This is a particular problem for larger prints.
Aa a print dries, the gelatin of the emulsion contracts more than the fiber base of the paper,
and the print tends to curl up like a pretzel.
Before any work can be done to finish the print, it must first be flattened.
The print is first placed under a sheet of plate glass overnight to remove some of the curl.
Then the print is placed between two pieces of mat board and pressed in a warm (200 degree)
dry mount press for several minutes.
This tends to soften the emulsion and allows it to conform with the paper substrate.
It also drives out any residual moisture from the paper,
and insures that the print will not shrink during the mounting process.
Upon removing the print from the dry mount press, it is
then cooled between two pieces of plate glass.
Then I'm ready to go to work on the details of finishing the print.
Unfortunately, this flattening process does not always work, and it is possible to ruin a print by pressing a crease
into one edge.
This is a particular problem for larger prints.
- Spotting the Print
 Although I take great care with cleaning the negative before each printing session,
there is inevitably some small amount of dust on it.
These dust specks on the negative cast their shadow on the photographic paper,
resulting in small white specks on the print.
Also, occasionally there might be a small object actually in the photograph
that detracts from the final image,
such as bird droppings on the floor.
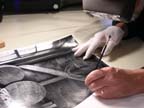
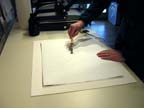
These are removed by "spotting" the print.
Using a very fine artist's brush and a pair of magnifying glasses,
I use a product called Spot Tone to remove the small white spots.
I first allow the concentrated Spot Tone to dry
in a small plastic water color dish, then
blend it with distilled water until the shade of gray exactly matches the
area surrounding the white spot. I then apply this mixture in very fine dots
to match the very fine grain pattern of the large format negative.
The result cannot be detected, and is fully archival.
Although I take great care with cleaning the negative before each printing session,
there is inevitably some small amount of dust on it.
These dust specks on the negative cast their shadow on the photographic paper,
resulting in small white specks on the print.
Also, occasionally there might be a small object actually in the photograph
that detracts from the final image,
such as bird droppings on the floor.
These are removed by "spotting" the print.
Using a very fine artist's brush and a pair of magnifying glasses,
I use a product called Spot Tone to remove the small white spots.
I first allow the concentrated Spot Tone to dry
in a small plastic water color dish, then
blend it with distilled water until the shade of gray exactly matches the
area surrounding the white spot. I then apply this mixture in very fine dots
to match the very fine grain pattern of the large format negative.
The result cannot be detected, and is fully archival.
- Dry Mounting the Print
 Unless a customer specifically requests an un-mounted print (such as for a museum collection),
I dry mount all of my work to 2-ply archival mat board
of the same shade as the overmat.
The dry mount tissue I use is
Beigang BufferMount,
a fully archival
and removeable
dry mount tissue.
Although the archival nature of dry mounting photographs has, in the past,
been debated,
it is now generally accepted that the materials available today are completely safe and archival.
Some even argue that the dry mount tissue forms a barrier that protects the print.
At any rate, Ansel Adams routinely dry mounted his photographs,
and if it's good enough for Ansel, it's good enough for me!
Mounting a photograph makes for a perfectly flat presentation,
and allows for the signature to be placed on the mat board and not on the print.
Unless a customer specifically requests an un-mounted print (such as for a museum collection),
I dry mount all of my work to 2-ply archival mat board
of the same shade as the overmat.
The dry mount tissue I use is
Beigang BufferMount,
a fully archival
and removeable
dry mount tissue.
Although the archival nature of dry mounting photographs has, in the past,
been debated,
it is now generally accepted that the materials available today are completely safe and archival.
Some even argue that the dry mount tissue forms a barrier that protects the print.
At any rate, Ansel Adams routinely dry mounted his photographs,
and if it's good enough for Ansel, it's good enough for me!
Mounting a photograph makes for a perfectly flat presentation,
and allows for the signature to be placed on the mat board and not on the print.
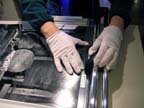
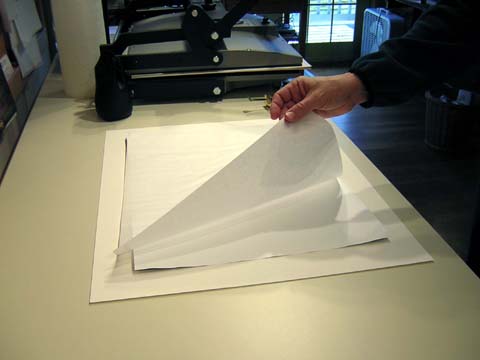
 The dry mount tissue is heat sensitive, and forms a bond when it is heated and then cooled.
To mount a print, the dry mount tissue is first placed on
the back of the print,
and lightly held in place by heating a small area with a tacking iron.
The dry mount tissue is heat sensitive, and forms a bond when it is heated and then cooled.
To mount a print, the dry mount tissue is first placed on
the back of the print,
and lightly held in place by heating a small area with a tacking iron.
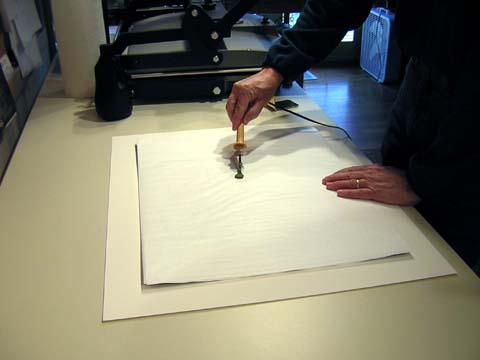
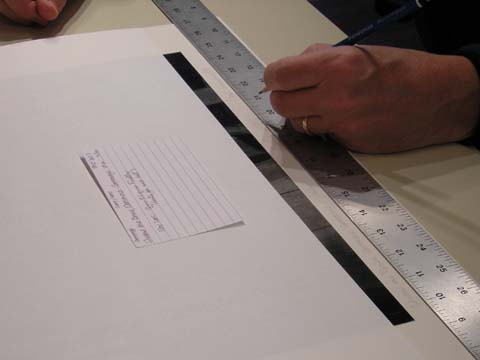
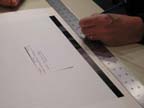
 Then the print and the dry mount tissue are trimmed to their exact final size.
The trimmed print is then carefully positioned on the 2-ply mat board,
weighted so it will not move,
and the dry mount tissue is tacked to the mat board.
The print, tissue, and 2-ply mat board are new ready for the dry mount press.
Then the print and the dry mount tissue are trimmed to their exact final size.
The trimmed print is then carefully positioned on the 2-ply mat board,
weighted so it will not move,
and the dry mount tissue is tacked to the mat board.
The print, tissue, and 2-ply mat board are new ready for the dry mount press.
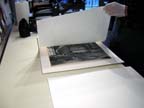
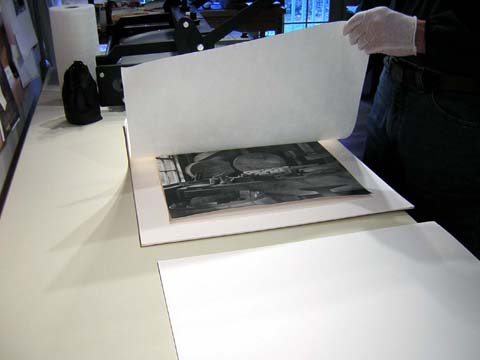
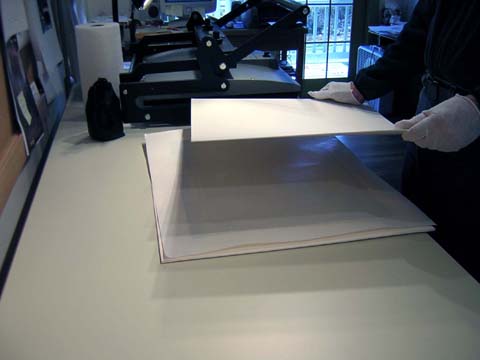
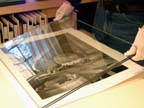
 To protect the print, the print/tissue/2-ply assembly is placed on a piece of clean 4-ply mat board.
This is then covered by a sheet of "release paper,"
which prevents any glue from the dry mount tissue from ruining the print.
On top of this goes another clean sheet of 4-ply mat board.
To protect the print, the print/tissue/2-ply assembly is placed on a piece of clean 4-ply mat board.
This is then covered by a sheet of "release paper,"
which prevents any glue from the dry mount tissue from ruining the print.
On top of this goes another clean sheet of 4-ply mat board.
 As with all steps in the process, clenliness is very important.
Any dirt on the surface of the print will be pressed into it, creating a dimple that will
be obvious.
As with all steps in the process, clenliness is very important.
Any dirt on the surface of the print will be pressed into it, creating a dimple that will
be obvious.
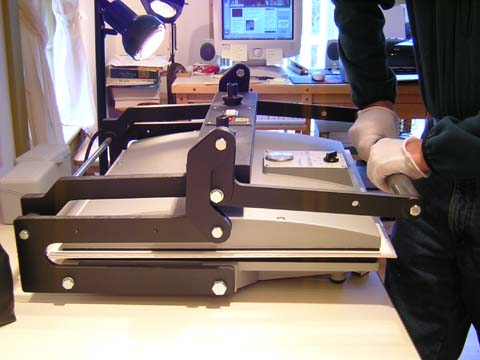
 This entire "sandwich" is then placed in the dry mount press (again at 200 degrees),
pressure is applied, and it is heated under pressure for about 5 minutes.
This entire "sandwich" is then placed in the dry mount press (again at 200 degrees),
pressure is applied, and it is heated under pressure for about 5 minutes.
 Since the adhesive in the dry mount tissue forms a bond only when it is
cool,
the mounted print must be cooled under pressure.
I use 2 pieces of plate glass, and apply additional pressure with my hands
until the glue sets.
It is particularly important to quickly apply pressure to the edges to prevent them from curling.
Since the adhesive in the dry mount tissue forms a bond only when it is
cool,
the mounted print must be cooled under pressure.
I use 2 pieces of plate glass, and apply additional pressure with my hands
until the glue sets.
It is particularly important to quickly apply pressure to the edges to prevent them from curling.
The print can be removed from the 2-ply mat board by re-heating in a dry mount press.
- Signing the Print
 It might seem trivial to mention here, but my signature on a print
is my indication that it meets my high standards for excellence.
Also, because I produce mostly limited addition work,
it assures a buyer that the print is a unique member of the edition.
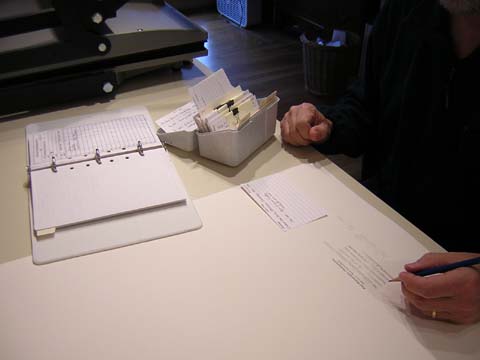
I keep an inventory book, arranged by image, that documents
how many finished prints I have made of that image.
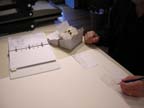
I fill out the information on the back of the mat, and sign it,
to indicate the edition number and date it was made.
I also keep a 3x5 index card of every print so I can keep track of where they all are.
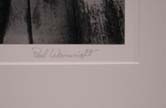
I also sign the front of the print, and write the title and edition number.
I use a #4 pencil, and sign lightly, so as to not attract attention.
It might seem trivial to mention here, but my signature on a print
is my indication that it meets my high standards for excellence.
Also, because I produce mostly limited addition work,
it assures a buyer that the print is a unique member of the edition.
I keep an inventory book, arranged by image, that documents
how many finished prints I have made of that image.
I fill out the information on the back of the mat, and sign it,
to indicate the edition number and date it was made.
I also keep a 3x5 index card of every print so I can keep track of where they all are.
I also sign the front of the print, and write the title and edition number.
I use a #4 pencil, and sign lightly, so as to not attract attention.
For prints that are sold un-mounted, this is the end product.
To be continued... Check back soon
|
|